Summarize this article via
Welcome! Meet Sociality.io, your social media management tool.
Get to know the basics of setting up your new account. This guide will introduce you to Publish module dashboard and show you how to connect and authenticate your social media profiles, invite team members and stakeholders, and much more.
Have questions but no time to read this guide? Book a 1-on-1 personalized onboarding meeting to see how you can use Sociality.io to troubleshoot your team’s difficulties.
This Deep Dive is an introduction to the key features and capabilities available in the Publish module. You will gain a working knowledge of how to publish content from start to finish and see how easy it is to onboard your entire team to the new toolsets.
About this guide:
- See how easy it is to navigate the Publish module.
- Discover how to manage and publish social media content.
- Organize approval workflows for the entire team.
A quick guide to using the Sociality.io Publish module
Calendar
To meet your team’s needs, our calendar is available in week, month, and agenda views. You can easily switch between tabs to visualize all of your content’s statuses, scheduled times, and dates, as well as internal notes from your team.

Content status

Use status colors to navigate content statuses.
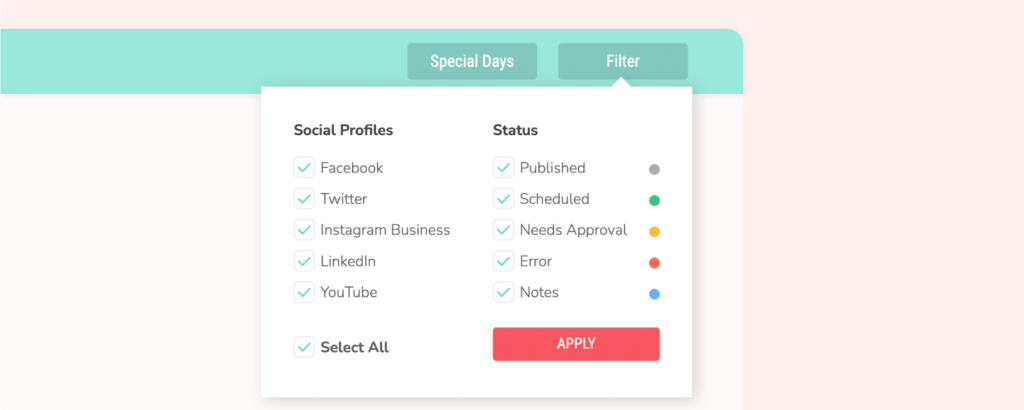
- Published: content has been published.
- Processing: content is being processed by our system.
- Scheduled: content is scheduled and will be published at the indicated time.
- Needs Approval: content requires approval.
- Error: content cannot be published due to error, which is described for each case.
- Special Days: international holidays and special days.
- Notes: internal notes to improve team communication.
To get details on each content, simply click on it.
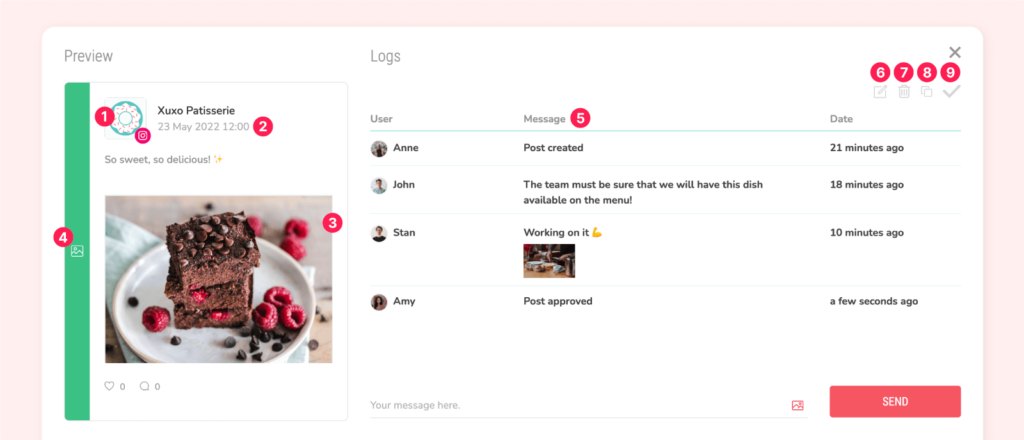
- Social media account and channel
- Scheduled time
- Preview of the post with a caption
- Content’s status
- Team logs and messages
- Edit content
- Delete content
- Duplicate content
- Approve content
How to create a post?
- Navigate to “Compose” on the sidebar, click on any date, or select the “+” sign in the upper right corner.
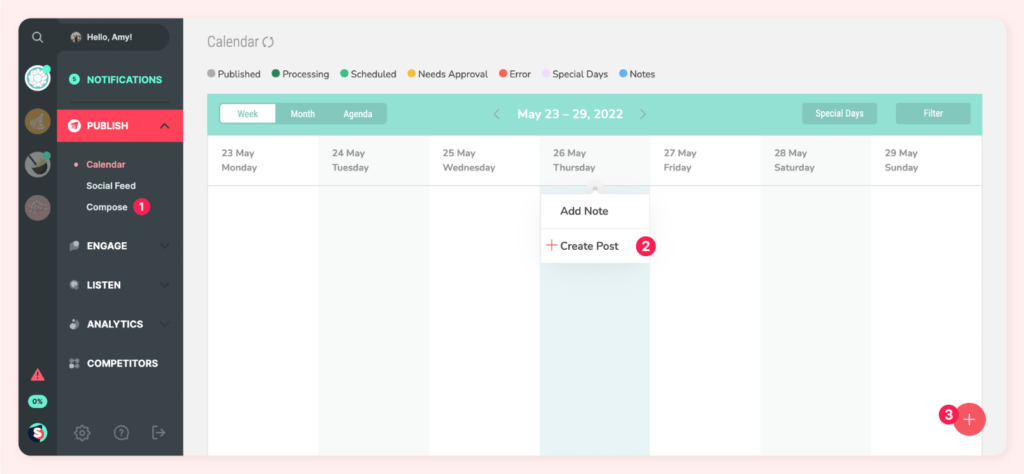
- Select one or multiple connected social media pages.
Note: By selecting more than one platform, you can only create common types of posts. For example, if you want to post a 360-degree panorama photo on Facebook, you won’t be able to post it on Instagram, too.
- Choose the type of content, type in the message, drag and drop the visual, and select a scheduling time.
- Depending on whether you have access, you can publish now, approve or send for approval.
How to approve the content on Sociality.io?
The social feed displays your content in a magnified list view. From the top section, click on Status > Needs Approval.
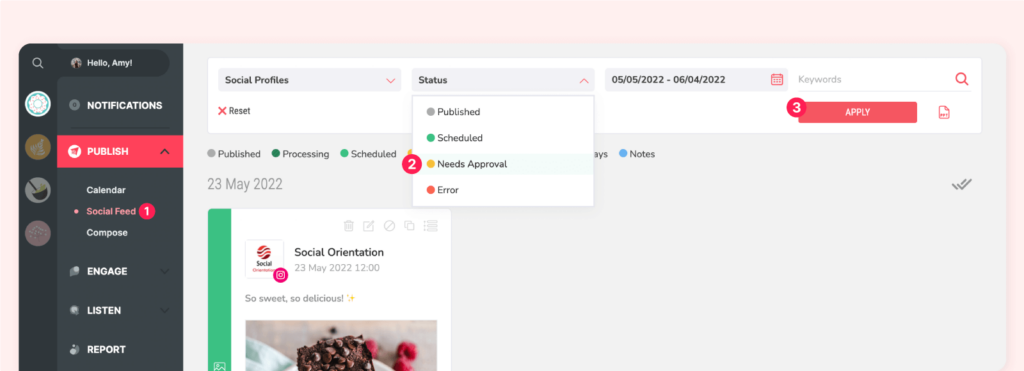
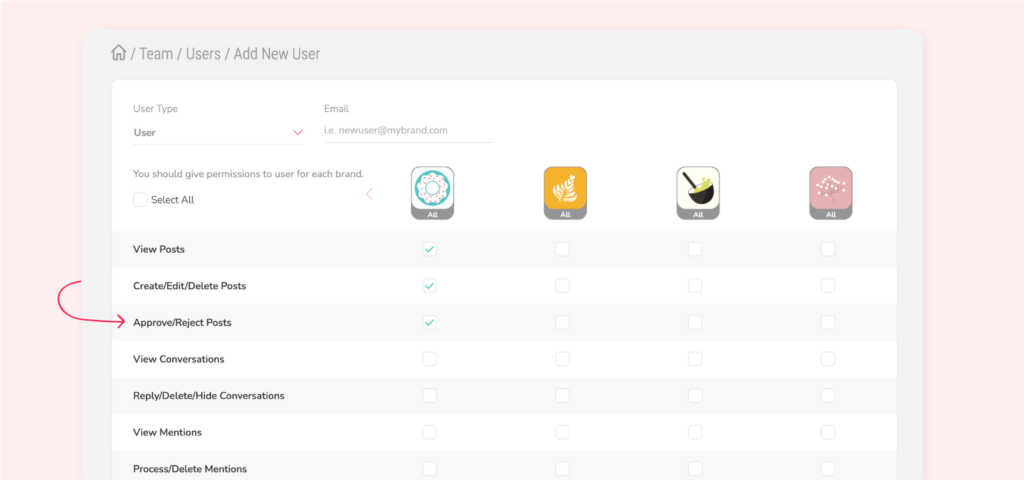
All posts that need approval can be scheduled by clicking on the “tick” icon. Note that you must approve or reject permission access. User roles and permissions can be edited in the user’s dashboard.
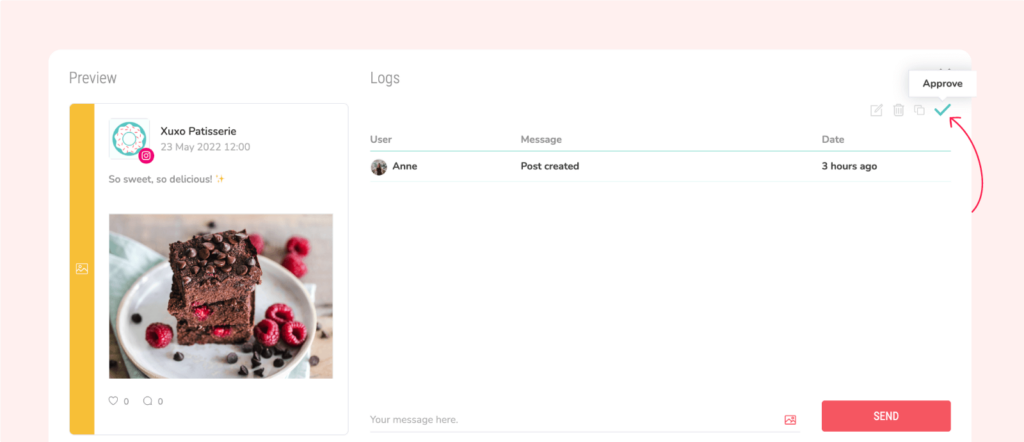
Alternatively, you can click on content on your calendar and inside the preview window. Simply locate the “approve” icon and click on it.
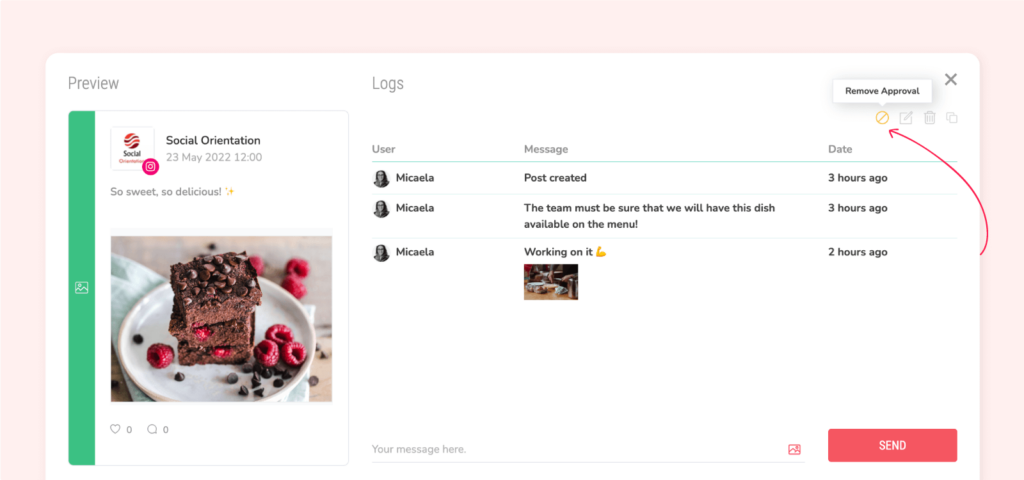
After the content has been approved, you can reject the approval.
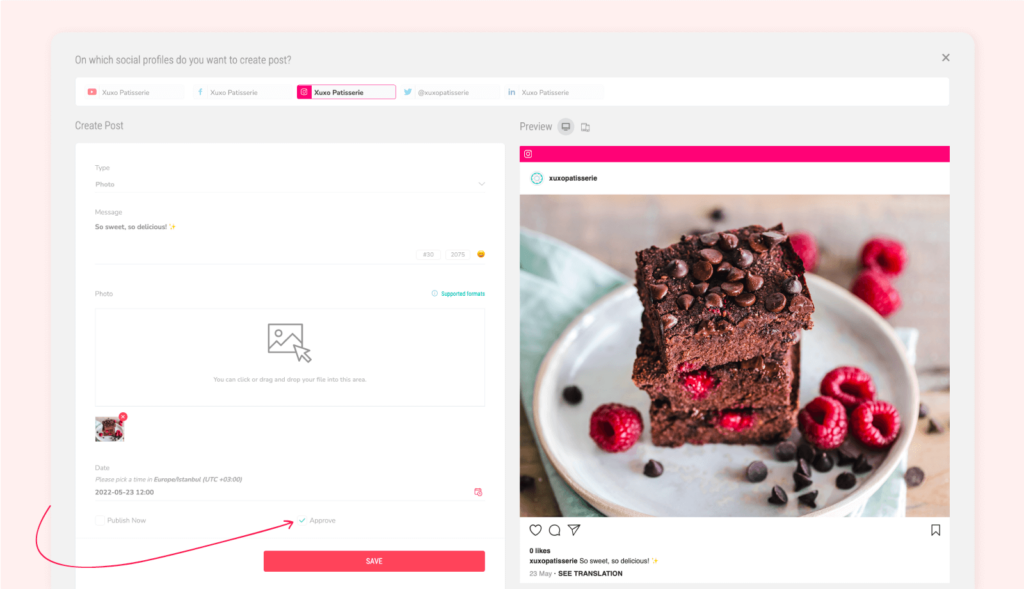
Alternatively, you can open the post and deselect “Approve”.
Wondering about the details?
- Drag and drop: posts on your content calendar can be reordered using the drag and drop feature. You can click and hold a post with needs approval status and simply drag it into a new date.
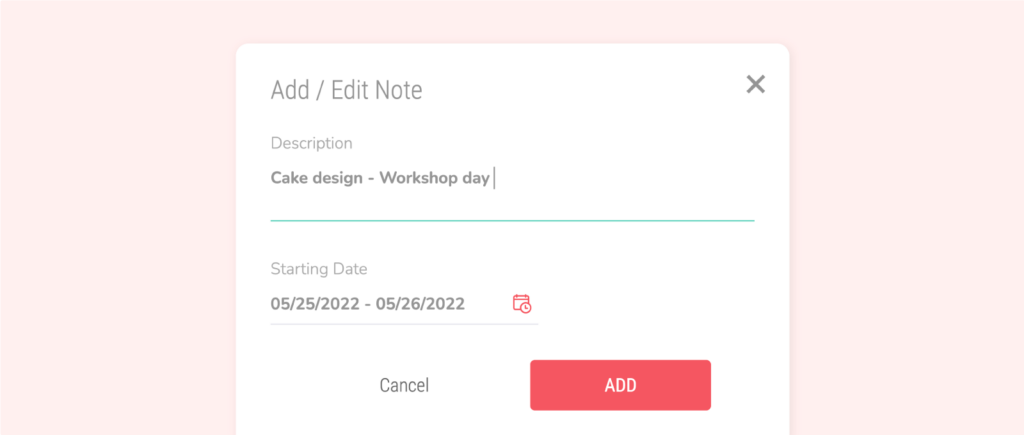
- Internal notes: create internal notes within the calendar to improve team communication.
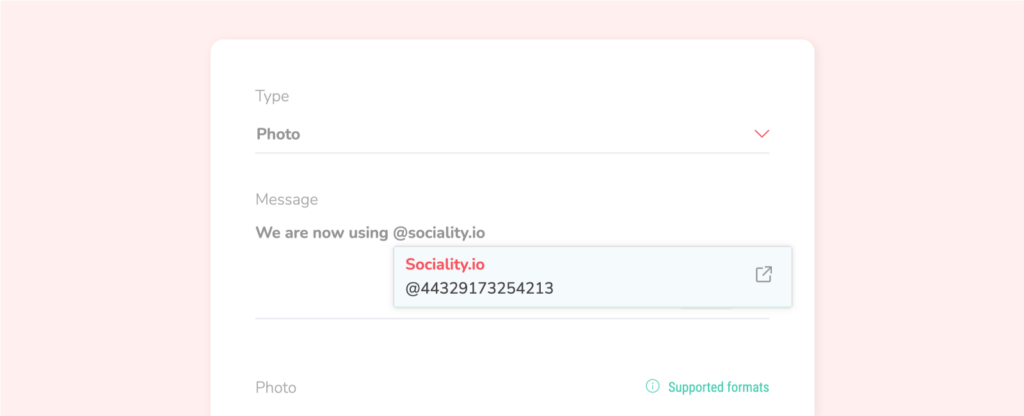
- Mention accounts on Facebook: type in “@” and the Facebook account name to tag the page in your post.
- Special days: Oversee international special days and holidays on your calendar.

- Use filters to display content based on social profiles or status.
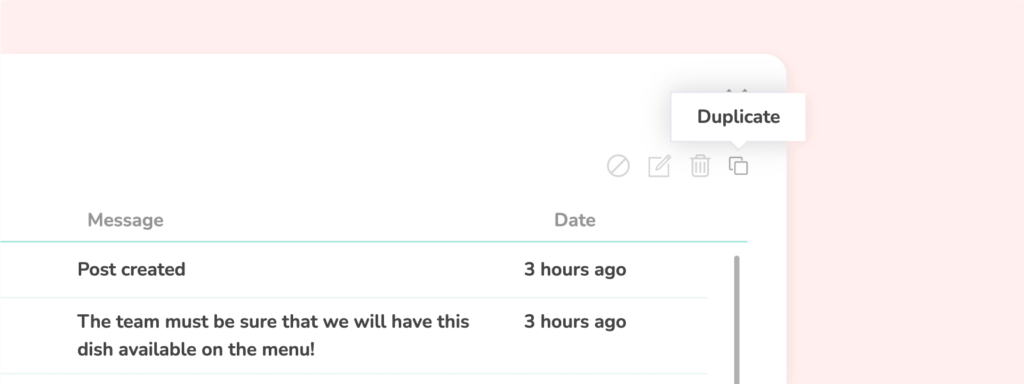
- Duplicate content: duplicate content to post the same content to multiple social media profiles at the same time.
- Download all created posts as a PowerPoint presentation to oversee and analyze your content strategy. Note that you can filter content within the presentation based on social media profiles, time frames, statuses, and keywords.

